Wednesday, November 30, 2016

Poppy's Hat

My kids have seen Trolls 3 times and they have not gotten enough!
It is a very clever show. I want to walk you through making a winter hat that looks
like Poppy's hair & decoration.  I will also be showing how to make a Branch hat from an existing hat next week. Please note you can skip the first few steps to building a hat and do the rest of the steps on a store bought hat. 
This will take a medium level sewing experience

I bought fleece from Walmart - I bought 1 yard which is plenty at 2.88 a yard
I also got a package of felt from the craft area for the decoration part.

I have the hat pattern in my downloadables......
I started with cutting 4 of the hat pattern- this would also be my lining
feel free to change up your lining.


sew the out side edges then the center
place both hat pieces face to face sew down and around the front and then the back
you should have open areas for the straps- turn the hat entering in through this area


lay strap on top side of hat sew so the seam will fall to the inside

fold over the inside seam allowance and top stitch all three layers closing that opening and
finishing the connection piece to the strap


moving on to the hair- cut hair as long as you would like it- I cut mine 24" in length and 27" around. I also used tape to hold the strands together after I cut them so they would be more manageable 


I left  2" at the bottom to make bangs -hair and then a non cut band in the center 2" and then on to the long hair. I cut about 1" strips I was not that exact on them. you can always measure them with a ruler and or pencil, chalk or washable pen. Then I measured up from the finished seam of the hat so the hair would not fall over the eyes and pinned the hair piece to both layers of the hat ( this way the lining will not roll when worn)


Once it was completely pinned - I used a zig zag stitch to attach hair to hat so it will keep the stretchSew two rows about 1" apart.


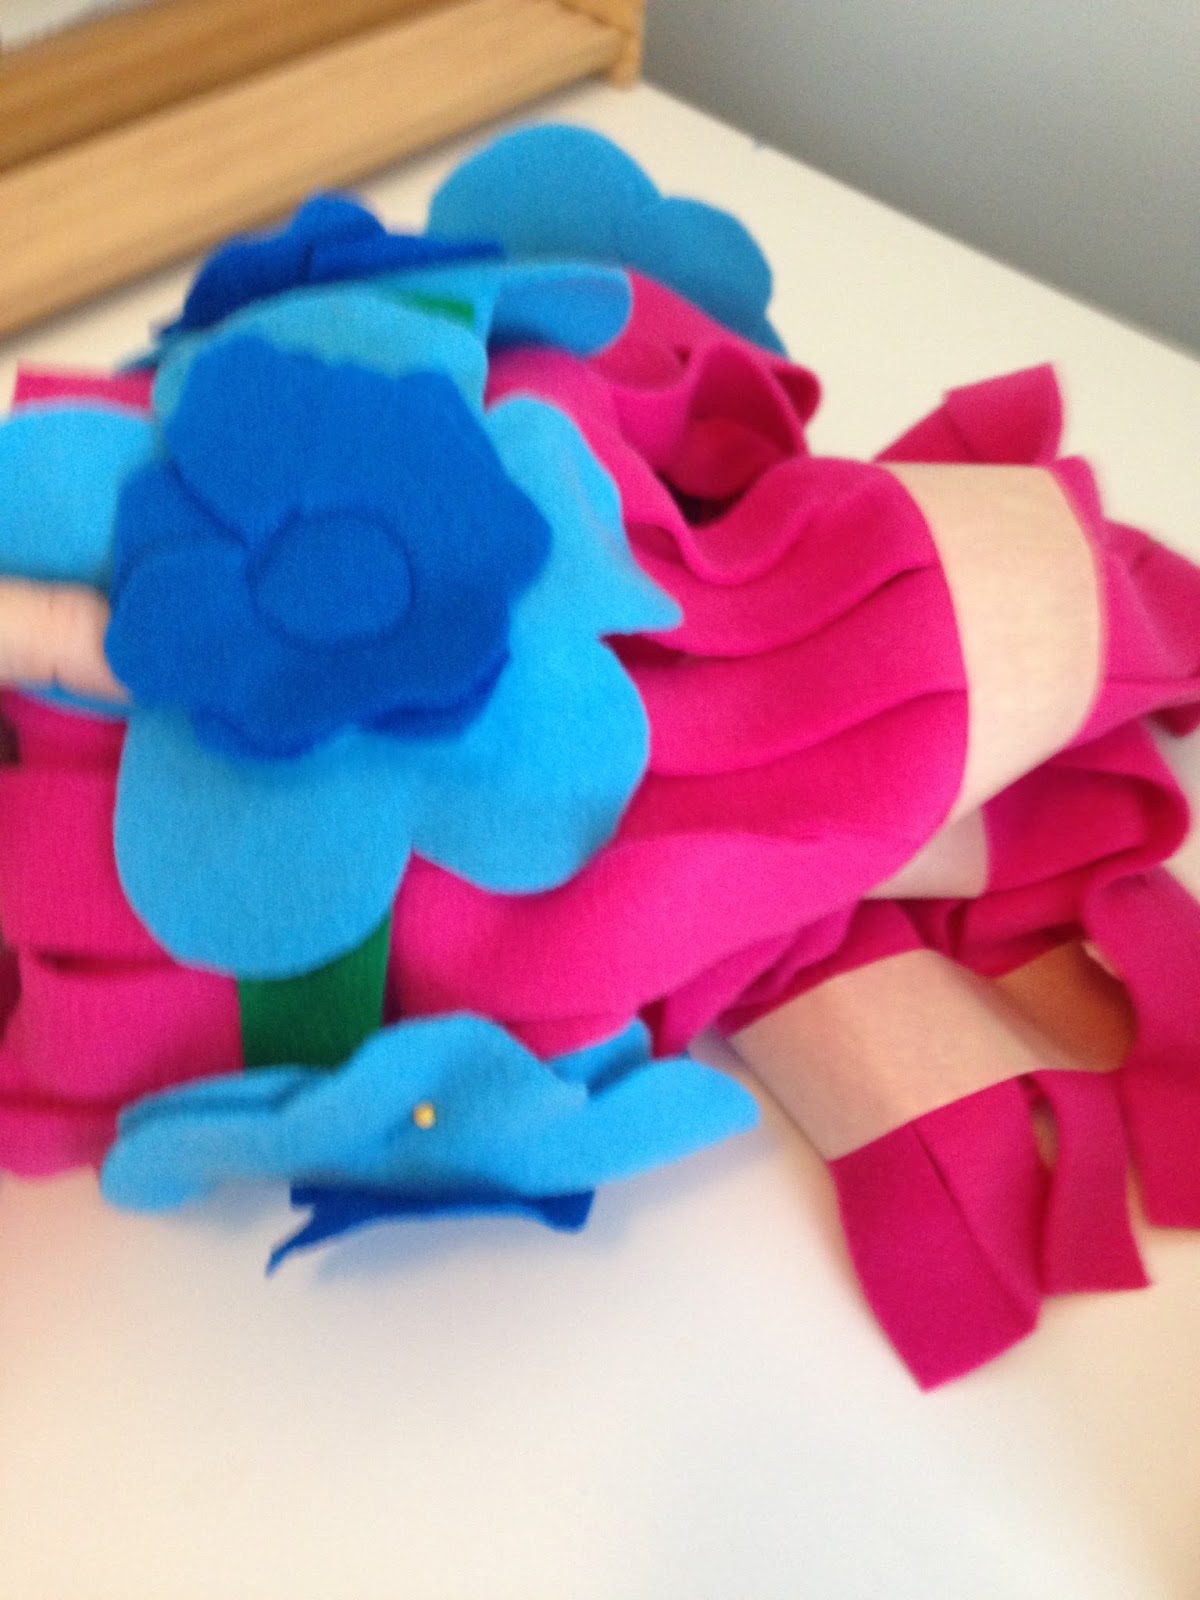
Moving on to the hair decoration. I cut a 1 1/4" strip 27" long to attach the flowers to.
I cut flowers in two different colors place flowers evenly along the band the last flower should be attached towards the end of the band so when you go to over lap the band you can cover the over lap with the flower petal. Attached the flowers to the strip with rough circle straight stitch. They are not perfect but with creating the circular stitch it will keep more of the flower down after it is washed.
I also layered the flowers but this is not necessary.


I pin the decoration to the area on the hat to cover the zig zag stitch. Tack the flowers behind the biggest flower on each side this way the tack stitch will be covered by the top flower and tack all the flower, band and the two hat layers. Cut all floating threads.


I then placed the hat on a human so I could tie the hair together with an extra piece of fleece and get the placement just right so it would not pull in a weird way. remove tape
Here it is enjoy- this is a adult size children sizes coming soon....

Little Bunny

Tuesday, November 22, 2016

Monster Spray
My kids are always telling me there are monsters under the bed or in their closet.
I have created monster spray and it gives them the power to banish the
monsters!!. Use your favorite type of spray and tape the label around the 
bottle and voila! monster spray those monsters will be a thing of the past!
I have included two different sizes in my downloadable.... have fun

Monday, November 21, 2016

Love gloves
You can up cycle/recycle or buy new gloves for this project
I found my gloves at the dollar store for $1 each. 
I like these gloves because of the texture and
they stretch to fit your hand.

first take a piece of card board and trace your hands and alit bit of your fingers not your whole fingers- cut the card board hand out
you will place this into the glove so it will give you a better idea of how the glove stretches and helps so you don't sew both sides together


take your mitten glove you can leave the rib top on the glove if you like
 I decided to cut it off. First turn the mitten inside out.
Then tape the glove (any tape will do ) and then cut the top portion off. 
I realized that the knit was not unraveling like I expected so I turned the edge over gently removed the tape and on my sewing machine used a zigzag stitch to finish the edge by turning the edge down and sewing the edge and self together.
If it is unraveling try using masking tape before you cut - cutting down the center of the masking tape fold the edge over and sew with the masking tape inside the fold.

after the mitten was sewn I turned it right side out. Place cardboard in adult glove. Place gloves together with the child glove on top and then I figured out how to place it on the adult glove so when my child was holding my hand her hand would be in her mitten. I pinned the glove down.

Time to sew I used off white yarn so you could see it better. 
I would use the same color as the mitten
I used a needle that hat is blunt on the end and only used one layer of yarn.

 Start from the inside of the mitten to hide your knot and work your way around the outside of the mitten connecting it to the adult glove when you get back to the mitten opening. Sew the inside mitten layer first to the glove. Then make your way around the outside opening of the mitten - knot off and thread your needle back through the glove knit to hide your end.


Now when you hold your child's hand in the cold you will both be warm :)


Tuesday, November 15, 2016

Baby Tooth Chart
I love tracking my kids arrival of teeth. I have added a cute downloadable
to help you track your baby's teeth.
look on the downloadable page

Saturday, November 12, 2016

Shirt Dress Upcycle, Revamp, Recycle
I went to my local thrift store and picked up a cute denim skirt and a cute plaid shirt dress size 8
slightly bigger than what my daughter wears but she hates to wear anything too tight unless they are her leggings. I found a great a great deal on the skirt it was half off ended up paying $2 and same for the dress $3. My daughter is not a fan of denim skirts yet. Comfort is the name of her game along with anything that has to do with animals. Here are the original pieces


I started deconstructing the skirt. I cut off what I wanted to use and left enough of an edge to turn
back to clean finish the edge on the denim. Cut the pocket bag out leave the pocket bag facing on the pocket
to give it a nice clean finish on that seam.


Before placing and pinning the denim pieces. Find a book or a piece of cardboard in-between
the two layers of the dress so you don't pin the back and front together.
Then move to placing the panels on the dress wherever you like. I wanted to use the pocket opening on the denim pieces on the dress so they will be functional. I like that the dress has a plaid it made it
really easy to place pocket ant the same height and I started the denim tipsiest on the side seam.
I pinned the pieces in place.

I also wanted denim detail in the back of the dress so I cut our the pockets from the back of the skirt. I pinned them into place.

Time to head to the sewing machine. Remember to use a thicker needle for sewing denim.
I used navy thread in top and in the bobbin. You also need to watch out for the hardware so you needle does not break and go flying.

Make sure on the back pockets you straight stitch on both sides of the rivets/hardware
so if she uses the pockets it is alit stronger. If you are concerned about the self body material being too thin place 1x1" facing on the backside to reinforce your stitches.
Here is the finished product. It is a bigger size than what my daughter wears...this way it will last a couple years and she loves the comfort.